|
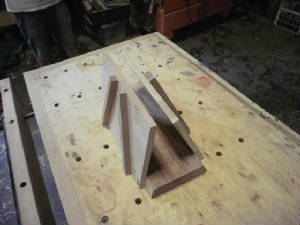
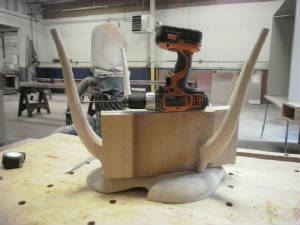
1: This is the seat drilling jig. There are two sides of plywood, connected
by the thickest piece of timber availiable ( usually 8/4 ). The base should be as long as your seat is wide for easy
centering and clamping. The plwood should be tall enough to register your drill bushing ( see fig 4.)
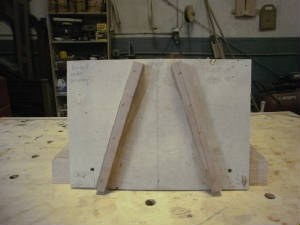
3: Front view of the seat jig. After attaching the plywood to the base I set a bevel
gauge for the rake angle and staple 3/4" square guides to the plywood. The spacing is taken from the template as before.
I always scribe a center line around the base and use that as reference for attaching the plywood and laying out the
spacing.
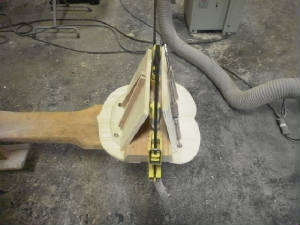
5: Jig clamped to seat.Draw a center line on the seat blank and line up the
centerline of the jig. Use the seat template to determine the setback from the back of the seat. In this case
5". I always write this setback number on the back of the jig.
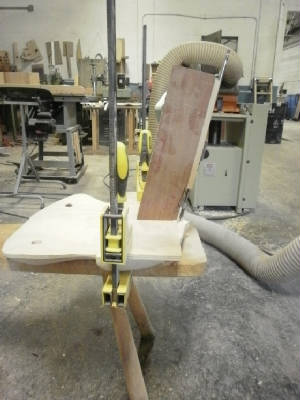
7: DrillingUse high drill speed and light pressure, especially as you're breaking
though the bottom. One side of the drill bit will break through before the other and if you're pushing hard, it will
split some off of the bottom of the seat.
8: spindle jig.The center spindle drilling jig is the same, but the
side guides are at 90 deg. The angle is the back slouch angle of the chair. The plywood base must be long enough
to clamp on either side of the chair.
10: Strecher drilling
This is not the correct jig for this
chair, but I don't have the right one availiable. The premise is a block that holds the drill parallel to the bottom
of the seat, at the right height. sometimes I have to attach a large plywood base to this jig, so that it can be clamped to
the chair. Most of the jig is sometimes hanging in the air and you need some way to stabilize it. The block must
be short enough to fit inbetween the legs.
You need a drill with a top or side that is parallel to the bit to be able to do this ( or make something to fit
the drill)
|


